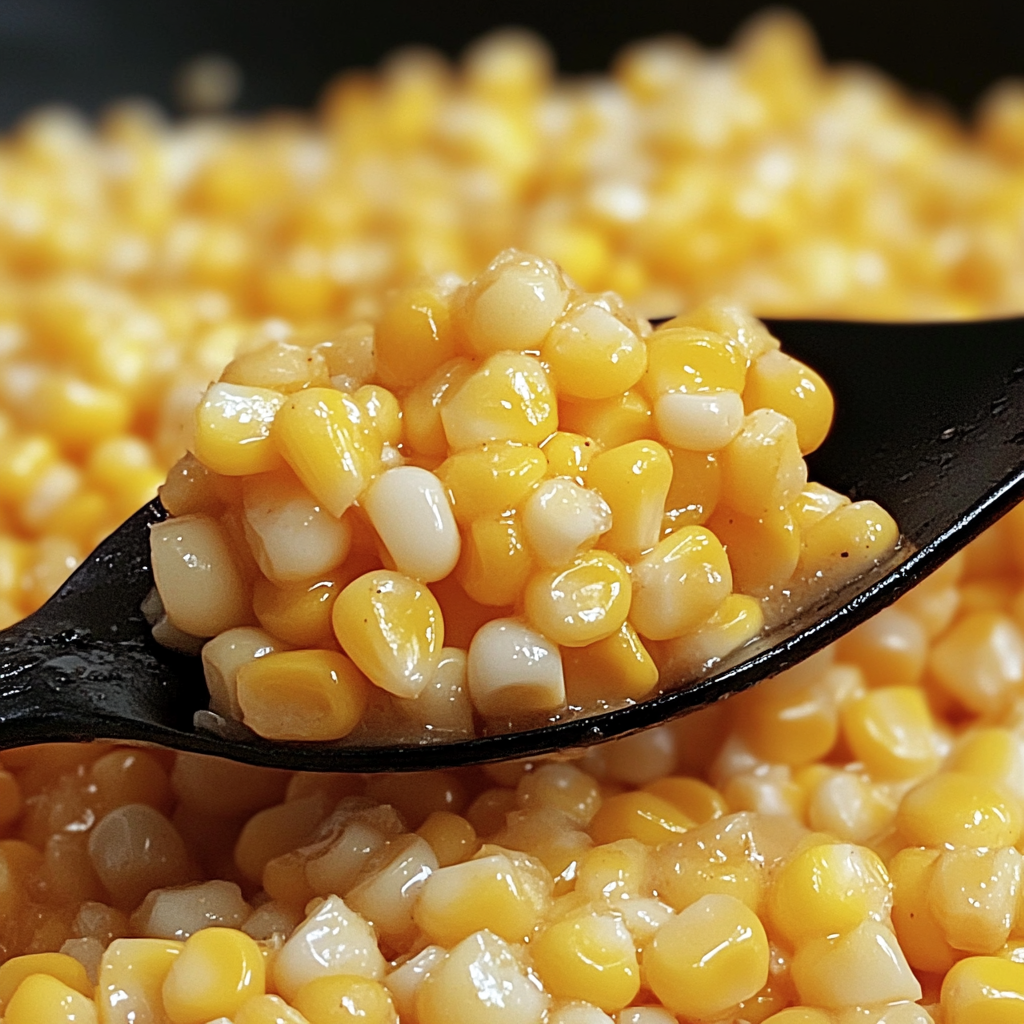
Honey Butter Skillet Corn is a simple yet delicious side dish that combines the natural sweetness of corn with the creamy richness of butter and honey. This versatile recipe is perfect for complementing a wide range of main courses and is a hit at any gathering. Whether you’re preparing a quick family dinner or a festive feast, this dish will bring comfort and flavor to your table.
Ingredients
- 4 cups of corn kernels (fresh, frozen, or canned)
- 3 tablespoons of unsalted butter
- 2 tablespoons of honey
- 1/4 teaspoon of salt (adjust to taste)
- 1/4 teaspoon of black pepper (optional)
- Fresh parsley or chives for garnish (optional)
Instructions
- Prepare the Corn: If using fresh corn, remove the kernels from the cob. If using frozen corn, thaw and drain. For canned corn, drain and rinse.
- Melt the Butter: Heat a large skillet over medium heat. Add the butter and allow it to melt completely.
- Cook the Corn: Add the corn to the skillet and stir well to coat it evenly in the melted butter. Cook for 5–7 minutes, stirring occasionally, until the corn is heated through and begins to develop a slight golden color.
- Add the Honey: Drizzle the honey over the corn and stir to combine. Cook for another 2–3 minutes, allowing the honey to meld with the butter and coat the corn.
- Season and Garnish: Sprinkle in the salt and black pepper, adjusting to taste. For an extra touch, garnish with fresh parsley or chives before serving.
- Serve Warm: Transfer the Honey Butter Skillet Corn to a serving dish and enjoy immediately.
Serving and Storage Tips
- Serving Suggestions: Serve this dish alongside grilled chicken, roasted vegetables, or barbecue favorites. It’s also an excellent addition to holiday spreads.
- Storage: Store leftovers in an airtight container in the refrigerator for up to 3 days. Reheat in a skillet over low heat, adding a small amount of butter or water to refresh the flavors.
FAQs
1. Can I use frozen corn for this recipe?
Yes, frozen corn works perfectly. Just thaw and drain it before cooking.
2. Is there a vegan alternative to butter in this recipe?
You can substitute unsalted butter with vegan butter or coconut oil for a plant-based option.
3. How can I make this dish spicier?
Add a pinch of cayenne pepper or red chili flakes while seasoning for a spicy kick.
4. Can I prepare this dish ahead of time?
While it’s best served fresh, you can make it ahead and store it in the refrigerator. Reheat in a skillet and add a touch of butter or honey before serving to revive the flavors.
PrintHoney Butter Skillet Corn
Honey Butter Skillet Corn is a delightful side dish that combines the natural sweetness of corn with a creamy honey-butter sauce. It’s quick to prepare and pairs well with various main courses.
Ingredients
- 2 tablespoons salted butter
- 2 tablespoons honey
- 16 ounces (about 3 cups) frozen sweet corn
- 2 ounces cream cheese, cut into small chunks
- 1/4 teaspoon salt
- 1/4 teaspoon black pepper
Instructions
- Melt Butter and Honey: In a large skillet over medium-high heat, melt the butter and honey together, stirring until well combined.
- Add Corn: Add the frozen corn to the skillet, stirring to coat the kernels with the honey-butter mixture. Cook for 5-8 minutes, stirring occasionally, until the corn is heated through.
- Incorporate Cream Cheese: Reduce the heat to low and add the cream cheese chunks to the skillet. Stir continuously until the cream cheese has melted and the mixture becomes creamy, about 3-5 minutes.
- Season: Sprinkle in the salt and black pepper, stirring to combine. Taste and adjust seasoning if necessary.
- Serve: Transfer the creamy honey butter corn to a serving dish and enjoy warm.
Notes
- For a touch of heat, consider adding a pinch of paprika or red pepper flakes.
- Fresh corn kernels can be used in place of frozen corn when in season.
- This dish pairs wonderfully with grilled meats, roasted vegetables, or as a standalone side for holiday gatherings.

