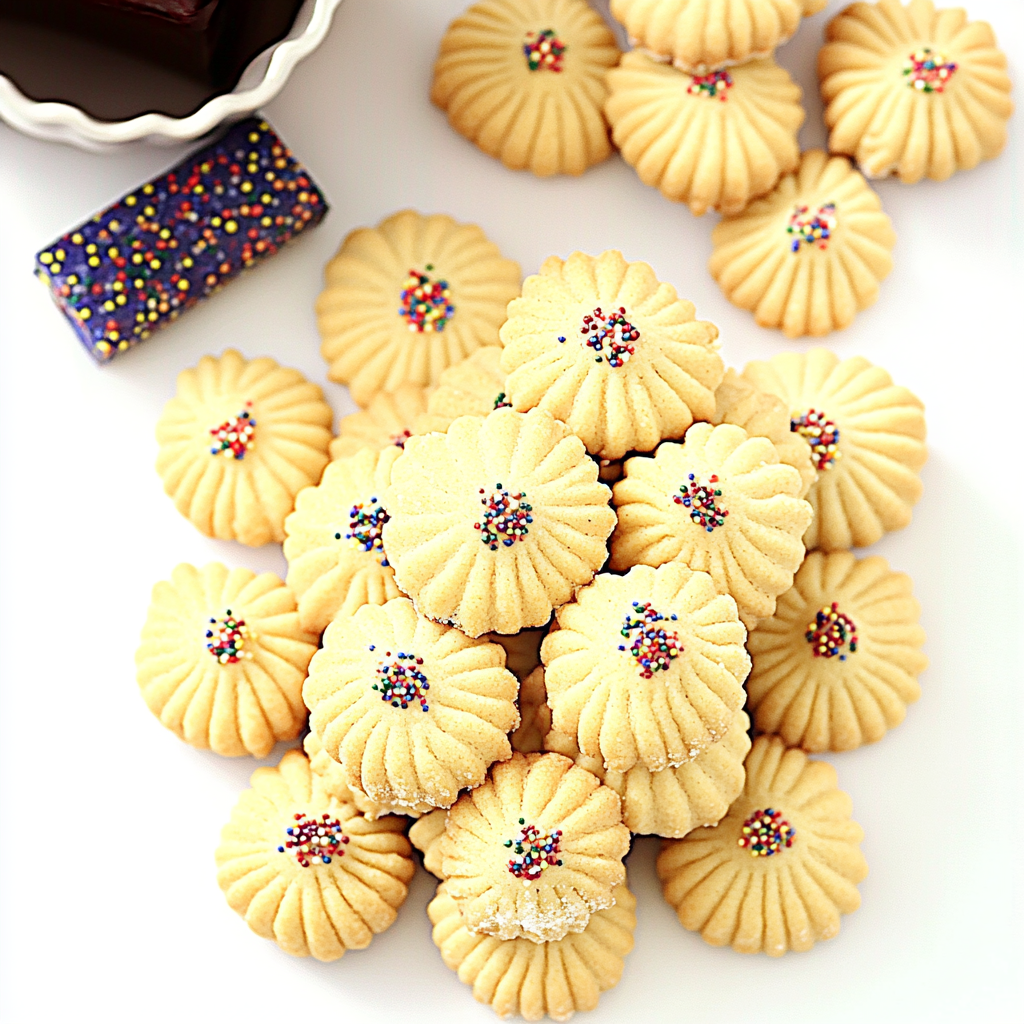
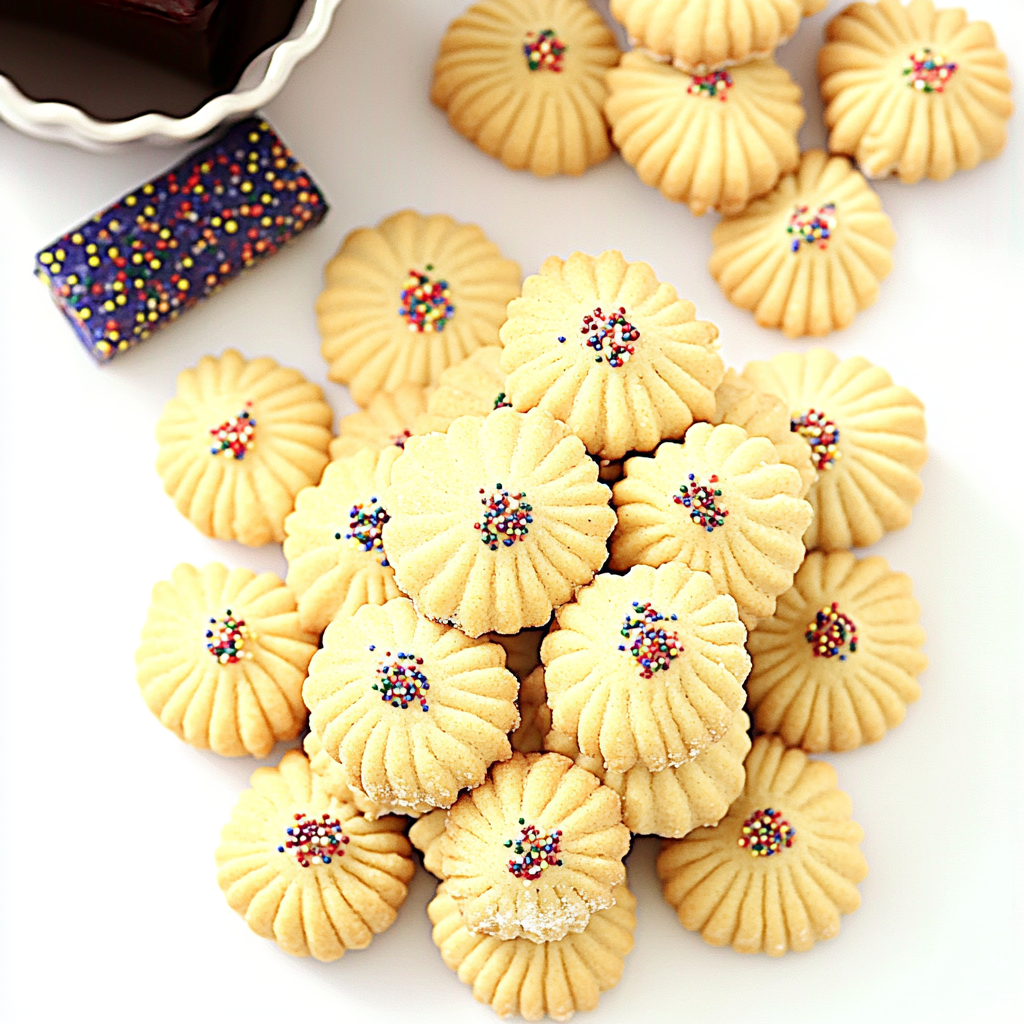
Italian butter cookies are a delightful and classic treat with a rich, buttery flavor and a melt-in-your-mouth texture. These elegant cookies are perfect for holidays, tea parties, or as an everyday indulgence. With their beautiful piped shapes and versatility, they’re a staple in Italian bakeries worldwide.
Why You’ll Love This Recipe
- Rich and Buttery Flavor: The perfect balance of sweetness and butteriness.
- Elegant Presentation: These cookies are as beautiful as they are delicious, often decorated with sprinkles, chocolate, or jam.
- Easy to Make: Simple ingredients and straightforward instructions make these cookies accessible for any home baker.
- Customizable: Add your favorite decorations or flavor variations to make them uniquely yours.
- Perfect for Any Occasion: From festive gatherings to casual snacks, these cookies fit every event.
Ingredients
(Tip: You’ll find the full list of ingredients and measurements in the recipe card below.)
- Unsalted butter, softened
- Powdered sugar
- Vanilla extract
- All-purpose flour
- Egg yolks
- Optional decorations: chocolate, sprinkles, or jam
Directions
- Prepare the Dough: In a large mixing bowl, cream the softened butter and powdered sugar until light and fluffy. Mix in the vanilla extract and egg yolks. Gradually add the flour and mix until a soft dough forms.
- Pipe the Cookies: Transfer the dough to a piping bag fitted with a star tip. Pipe desired shapes onto a baking sheet lined with parchment paper.
- Chill the Cookies: Place the baking sheet in the refrigerator for 15-20 minutes to help the cookies hold their shape during baking.
- Bake: Preheat the oven to 350°F (175°C). Bake the cookies for 10-12 minutes or until the edges are lightly golden.
- Cool and Decorate: Allow the cookies to cool completely. Dip them in melted chocolate, add sprinkles, or sandwich them with jam as desired.
Servings and Timing
- Servings: Approximately 30 cookies (depending on size and shape)
- Prep Time: 20 minutes
- Cook Time: 10-12 minutes
- Chill Time: 15-20 minutes
- Total Time: About 50 minutes
Variations
- Chocolate-Dipped: Dip one end of the cookie in melted chocolate and top with sprinkles or chopped nuts.
- Jam-Filled: Sandwich two cookies with a dollop of your favorite jam or preserve.
- Zesty Touch: Add a teaspoon of lemon or orange zest to the dough for a citrusy twist.
- Almond Flavored: Substitute almond extract for vanilla extract to create a nutty variation.
- Holiday Theme: Use food coloring to tint the dough or decorate with festive sprinkles.
Storage/Reheating
- Storage: Store cookies in an airtight container at room temperature for up to 5 days.
- Freezing: Freeze baked cookies in a sealed container for up to 3 months. Thaw at room temperature before serving.
- Reheating: These cookies are best enjoyed fresh and do not require reheating.
FAQs
1. What makes Italian butter cookies different from other cookies?
Italian butter cookies are known for their soft, buttery texture and elegant piped shapes, often decorated with chocolate or jam.
2. Can I make these cookies without a piping bag?
Yes, you can shape the dough using your hands or a cookie cutter, though the traditional piped look may be lost.
3. Why does the dough need to be chilled before baking?
Chilling helps the cookies hold their shape during baking and prevents spreading.
4. Can I use salted butter instead of unsalted?
Yes, but reduce or omit any added salt in the recipe to balance the flavors.
5. How do I prevent the dough from being too stiff to pipe?
Ensure the butter is properly softened, and mix the dough thoroughly to achieve a smooth consistency.
6. Can I add food coloring to the dough?
Yes, you can add food coloring for a festive touch. Use gel coloring for vibrant results.
7. What’s the best way to melt chocolate for dipping?
Use a double boiler or microwave in short intervals, stirring frequently, to prevent burning.
8. Can I make the dough ahead of time?
Yes, the dough can be made a day ahead and stored in the refrigerator. Let it soften slightly before piping.
9. Are these cookies gluten-free?
No, but you can try substituting the all-purpose flour with a gluten-free flour blend.
10. How do I achieve consistent cookie shapes?
Use a piping bag with a sturdy tip and apply even pressure while piping the dough.
Conclusion
Italian butter cookies are a timeless treat that combine elegance and indulgence. Their buttery flavor and versatile decorations make them a crowd-pleaser for any occasion. Whether you dip them in chocolate, sandwich them with jam, or enjoy them plain, these cookies are sure to become a favorite in your baking repertoire.
PrintItalian Butter Cookies
Italian Butter Cookies are classic treats known for their rich, buttery flavor and delicate, melt-in-your-mouth texture. Often found in Italian bakeries, these cookies are versatile and can be decorated with chocolate, jam, or sprinkles, making them perfect for holidays and special occasions.
Ingredients
- 1 cup (225g) unsalted butter, softened
- 2/3 cup (130g) granulated sugar
- 2 large egg yolks
- 1 teaspoon vanilla extract
- 2 cups (250g) all-purpose flour
- 1/4 teaspoon salt
- 2 tablespoons milk
Instructions
- Preheat Oven: Preheat your oven to 350°F (175°C). Line baking sheets with parchment paper.
- Cream Butter and Sugar: In a large bowl, using an electric mixer, cream the softened butter and granulated sugar together on medium speed until light and fluffy.
- Add Egg Yolks and Vanilla: Add the egg yolks and vanilla extract to the butter mixture. Continue to beat until well combined.
- Combine Dry Ingredients: In a separate bowl, whisk together the all-purpose flour and salt.
- Mix Dry and Wet Ingredients: Gradually add the dry ingredients to the butter mixture, mixing on low speed. Add the milk and continue to mix until a soft dough forms.
- Pipe the Cookies: Transfer the dough into a piping bag fitted with a large star tip. Pipe the dough onto the prepared baking sheets into desired shapes, such as circles, “S” shapes, or straight lines.
- Bake: Bake the cookies in the preheated oven for 10-12 minutes, or until the edges are lightly golden.
- Cool: Remove from the oven and allow the cookies to cool on the baking sheet for a few minutes before transferring them to a wire rack to cool completely.
Optional Decorations:
- Chocolate Dip: Once cooled, dip the ends of the cookies in melted chocolate and add sprinkles or chopped nuts before the chocolate sets.
- Jam Filling: Create sandwich cookies by spreading a thin layer of raspberry or apricot jam between two cookies.
Notes
- Ensure the butter is softened to room temperature for easier mixing and a smoother dough.
- Chilling the piped cookies on the baking sheet in the refrigerator for about 30 minutes before baking can help them retain their shape during baking.
- Store the cookies in an airtight container at room temperature for up to a week.


