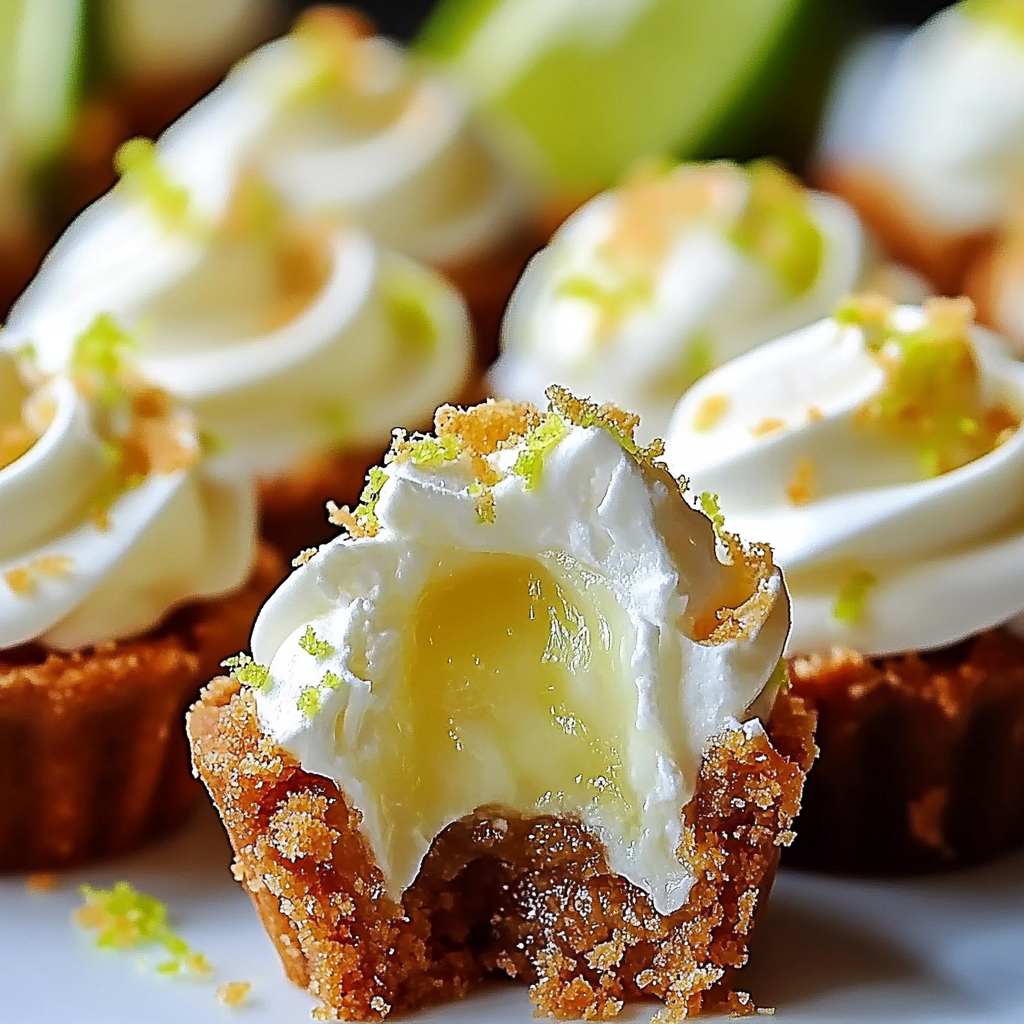
Delightfully tangy and sweet, these no-bake mini key lime pies are the perfect dessert for any occasion. With a creamy lime filling nestled in a crisp graham cracker crust, they come together effortlessly and require no oven time. Ideal for summer gatherings or whenever you crave a refreshing treat!
Why You’ll Love This Recipe
- Quick and Easy: Minimal preparation and no baking required.
- Perfectly Portioned: Individual servings make these pies ideal for parties.
- Refreshing Flavor: A burst of citrusy goodness that’s not overly sweet.
- Customizable: Easily adaptable with different toppings or crust variations.
Ingredients
(Tip: You’ll find the full list of ingredients and measurements in the recipe card below.)
- Graham cracker crumbs
- Granulated sugar
- Unsalted butter, melted
- Cream cheese, softened
- Sweetened condensed milk
- Freshly squeezed key lime juice
- Lime zest
- Whipped cream (for garnish, optional)
Directions
- Prepare the Crust: In a bowl, mix graham cracker crumbs, sugar, and melted butter until well combined. Press the mixture firmly into the bottoms of a muffin tin lined with cupcake liners. Chill in the refrigerator while preparing the filling.
- Make the Filling: In a large bowl, beat softened cream cheese until smooth. Gradually mix in sweetened condensed milk, lime juice, and lime zest until the filling is creamy and well blended.
- Assemble the Pies: Spoon the lime filling into the prepared crusts, smoothing the tops with a spatula.
- Chill: Refrigerate for at least 3 hours or until the filling is set.
- Garnish and Serve: Remove the mini pies from the muffin tin and peel off the liners. Garnish with whipped cream and additional lime zest if desired.
Servings and Timing
- Servings: Makes approximately 12 mini pies.
- Prep Time: 15 minutes
- Chill Time: 3 hours
- Total Time: 3 hours 15 minutes
Variations
- Chocolate Crust: Substitute graham crackers with chocolate cookie crumbs for a rich twist.
- Coconut Addition: Add shredded coconut to the crust for extra texture and flavor.
- Tangier Flavor: Increase the lime juice for a more pronounced tartness.
- Tropical Garnish: Top with toasted coconut flakes or pineapple chunks.
Storage/Reheating
- Storage: Store the mini pies in an airtight container in the refrigerator for up to 5 days.
- Freezing: Freeze the pies for up to 2 months. Thaw in the refrigerator overnight before serving.
- Reheating: These pies are best served cold, so no reheating is necessary.
FAQs
How long do these mini key lime pies need to chill?
They need to chill for at least 3 hours to set properly.
Can I use bottled lime juice instead of fresh key lime juice?
Yes, but fresh key lime juice offers a brighter and more authentic flavor.
What can I use as a crust alternative to graham crackers?
You can use digestive biscuits, shortbread cookies, or even Oreo crumbs for a different base.
Can I make this recipe dairy-free?
Yes, by using dairy-free cream cheese and condensed coconut milk.
Are these pies suitable for freezing?
Absolutely! They freeze well for up to 2 months and can be enjoyed straight from the fridge after thawing.
Can I prepare these pies ahead of time?
Yes, they can be made a day in advance and stored in the refrigerator until ready to serve.
Do I need a special pan to make these mini pies?
No, a standard muffin tin works perfectly.
Can I double the recipe?
Yes, you can easily scale the ingredients to make more pies.
How do I prevent the crust from crumbling?
Make sure to press the crust mixture firmly into the liners and chill it before adding the filling.
What toppings go well with these mini key lime pies?
Whipped cream, lime zest, toasted coconut, or a drizzle of white chocolate are all excellent options.
Conclusion
No-bake mini key lime pies are a versatile and delightful dessert that’s easy to prepare and sure to impress. With their tangy lime flavor and creamy texture, these individual pies are a refreshing way to end any meal. Try this recipe today and enjoy a sweet taste of summer!
PrintNo-Bake Mini Key Lime Pies
No-Bake Mini Key Lime Pies are a delightful, tangy treat perfect for any occasion. Here’s how to make them
Ingredients
For the crust:
- 1 1/2 cups graham cracker crumbs
- 1/3 cup granulated sugar
- 6 tablespoons unsalted butter, melted
For the filling:
- 1 can (14 ounces) sweetened condensed milk
- 1/2 cup key lime juice (freshly squeezed)
- 1 teaspoon lime zest
For the topping:
- 1 cup heavy cream
- 2 tablespoons powdered sugar
- Additional lime zest, for garnish
Instructions
- Prepare the Crust:
- In a medium bowl, combine the graham cracker crumbs, granulated sugar, and melted butter. Mix until the crumbs are fully coated and resemble wet sand.
- Press the mixture firmly into the bottoms and up the sides of mini tart pans or a muffin tin lined with paper liners. Ensure an even layer to form a sturdy crust.
- Refrigerate the crusts for at least 1 hour to set.
- Make the Filling:
- In a large bowl, whisk together the sweetened condensed milk, key lime juice, and lime zest until smooth and thick.
- Spoon the filling into the chilled crusts, smoothing the tops with a spatula.
- Prepare the Whipped Cream:
- In a separate bowl, whip the heavy cream and powdered sugar together using an electric mixer until stiff peaks form.
- Pipe or spoon the whipped cream onto each mini pie.
- Garnish and Set:
- Garnish with additional lime zest for a burst of color and flavor.
- Refrigerate the mini key lime pies for at least 2 hours to allow the filling to set properly.
Notes
- For the best flavor, use freshly squeezed key lime juice. If unavailable, regular lime juice can be substituted, though the flavor may be slightly different.
- These pies can be made a day in advance, making them ideal for gatherings. Store them covered in the refrigerator for up to 3 days.
- If you don’t have mini tart pans, a muffin tin lined with paper or silicone liners works well.

