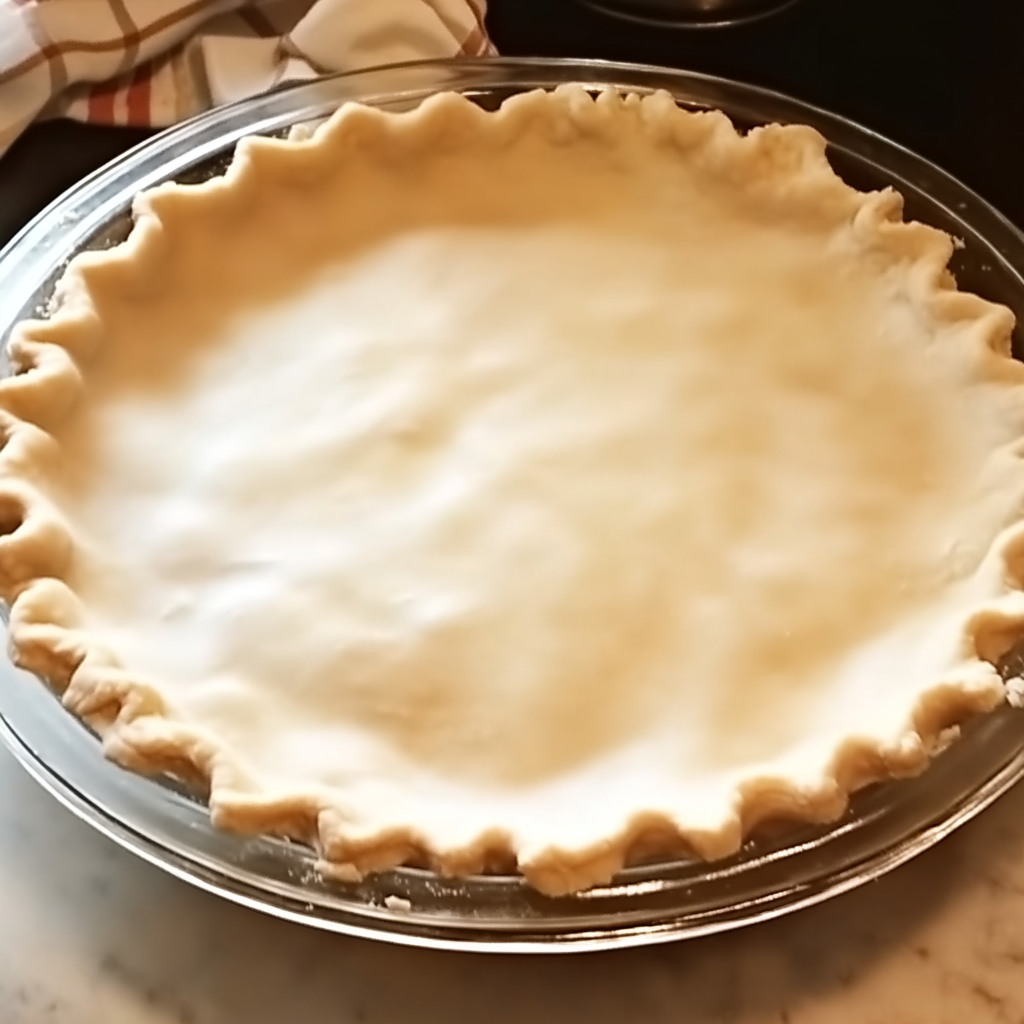
Pie crust is the foundation of many beloved desserts, and Ruth’s Grandma’s Pie Crust is a timeless recipe that combines simplicity with rich, buttery flavor. Perfectly flaky and tender, this crust works beautifully for pies of all kinds, whether sweet or savory.
Ingredients
- 2 ½ cups all-purpose flour
- 1 teaspoon salt
- 1 tablespoon granulated sugar (optional, for sweet pies)
- 1 cup (2 sticks) unsalted butter, chilled and cubed
- 6–8 tablespoons ice-cold water
Instructions
- Mix the Dry Ingredients: In a large mixing bowl, whisk together the flour, salt, and sugar if using.
- Cut in the Butter: Add the chilled, cubed butter to the flour mixture. Use a pastry cutter or your fingertips to combine until the mixture resembles coarse crumbs with pea-sized pieces of butter.
- Add Water Gradually: Slowly drizzle in ice-cold water, one tablespoon at a time, mixing gently with a fork or your hands after each addition. Stop when the dough starts to come together but is not sticky.
- Form the Dough: Divide the dough in half, shape into two discs, and wrap each tightly in plastic wrap. Chill in the refrigerator for at least 1 hour (or up to 2 days) before using.
- Roll Out the Dough: On a lightly floured surface, roll one disc of dough out to fit your pie dish, leaving about an inch of overhang.
- Prepare the Pie: Fill the crust with your desired filling and use the second dough disc for a top crust, lattice, or decorative shapes, if needed.
- Bake as Directed: Follow the baking instructions for your specific pie recipe, typically baking at 375–400°F for 30–50 minutes, depending on the filling.
Serving and Storage Tips
- Serving: Allow the pie to cool for at least 2 hours before serving to ensure the filling sets properly.
- Storage: Store leftover pie in the refrigerator for up to 4 days, covered tightly with plastic wrap or foil. Pie dough can be frozen for up to 3 months. Thaw in the refrigerator before rolling out.
FAQs
1. Can I use salted butter instead of unsalted butter?
Yes, but reduce the added salt in the recipe to avoid the crust being overly salty.
2. What if I don’t have a pastry cutter?
You can use two knives, a fork, or your hands to blend the butter into the flour. Alternatively, a food processor works well for this step.
3. Can I make this dough ahead of time?
Absolutely! The dough can be stored in the refrigerator for up to 2 days or frozen for up to 3 months.
4. How do I prevent the crust from shrinking?
Chill the dough thoroughly before baking, and avoid stretching it when fitting it into the pie dish. Use pie weights when pre-baking.
Ruth’s Grandma’s Pie Crust is a tried-and-true recipe that guarantees delicious results every time. Whether you’re baking for a special occasion or just a family dinner, this crust will elevate your pie to perfection.
PrintRuth’s Grandma’s Pie Crust
A classic, foolproof pie crust recipe passed down from Ruth’s grandma, perfect for both sweet and savory pies. It’s buttery, flaky, and easy to make, ensuring your pies have the perfect base.
- Prep Time: 15 minutes
- Cook Time: 1 hour
- Total Time: 1 hour 15 minutes
- Yield: Two 9-inch pie crusts 1x
- Category: Dessert, Baking
- Method: Mixing and Rolling
- Cuisine: American
- Diet: Vegetarian
Ingredients
- 2 ½ cups all-purpose flour
- 1 tsp salt
- 1 tbsp granulated sugar (optional, for sweet pies)
- 1 cup (2 sticks) cold unsalted butter, cut into small cubes
- 6–8 tbsp ice water
Instructions
- Mix Dry Ingredients: In a large mixing bowl, whisk together the flour, salt, and sugar (if using).
- Cut in Butter: Add the cold butter cubes. Use a pastry cutter or your fingers to work the butter into the flour until the mixture resembles coarse crumbs.
- Add Ice Water: Drizzle in the ice water, 1 tablespoon at a time, mixing gently with a fork. Stop adding water once the dough holds together when pressed.
- Form the Dough: Turn the dough out onto a lightly floured surface. Divide it in half and shape each portion into a disk. Wrap tightly in plastic wrap and chill for at least 1 hour (or up to 2 days).
- Roll Out: Roll out one dough disk on a floured surface until it’s about 12 inches in diameter and fits your pie dish.
- Assemble Pie: Transfer the rolled dough to your pie dish. Fill and bake as directed in your pie recipe.
Notes
- For an extra-flaky crust, chill all your tools (mixing bowl, pastry cutter, etc.) before starting.
- You can use a food processor for quicker mixing, but be careful not to over-process.
- Freeze extra dough disks for up to 3 months. Thaw overnight in the refrigerator before using.

